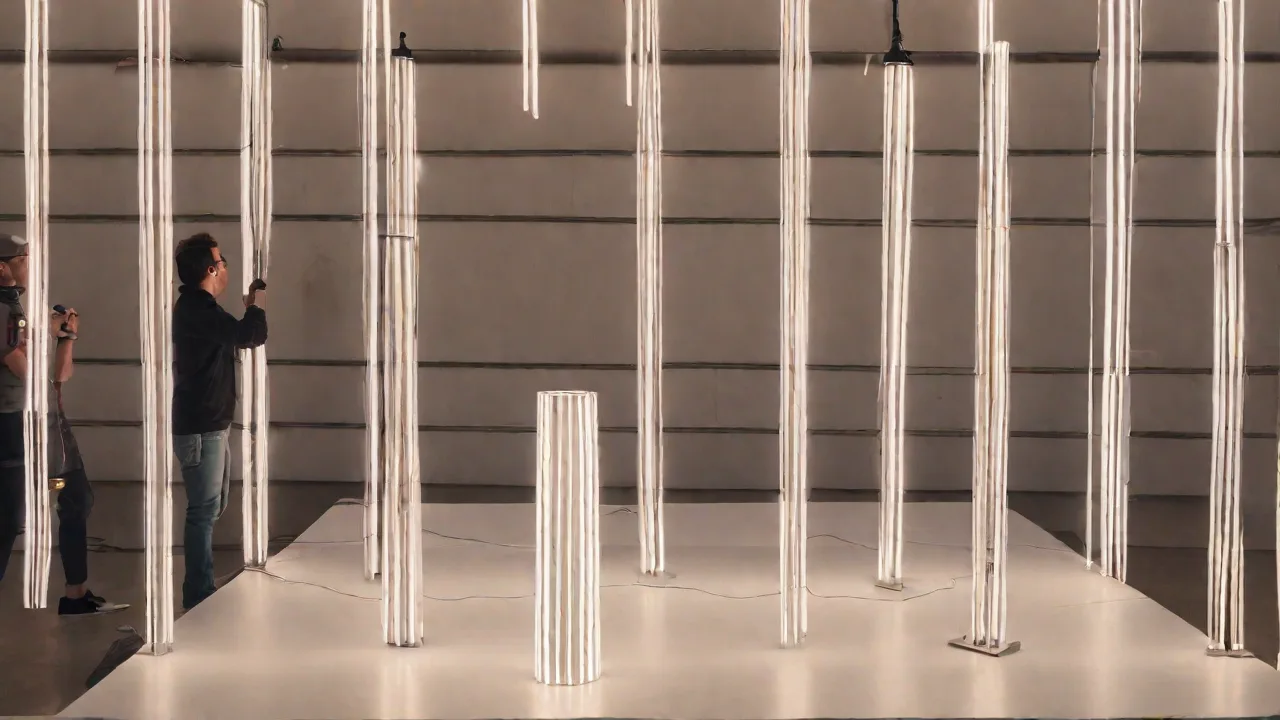
How to Build a DIY Interactive Light and Sound Exhibit for Art Festivals
Creating an interactive light and sound exhibit for art festivals is a rewarding project that combines creativity, technology, and craftsmanship. Such exhibits can engage visitors and enhance their experience at any event. In this guide, we will walk through the essential steps to build your own DIY interactive exhibit.
Planning Your Interactive Exhibit
Start by defining the concept and goals of your exhibit. Decide what kind of interaction you want to create—will visitors control lights, trigger sounds, or both? Sketch a rough layout and list the materials and tools you'll need. Consider safety and accessibility to ensure everyone can enjoy your exhibit.
Gathering Materials and Tools
- LED lights and strips
- Sound modules or small speakers
- Microcontrollers (e.g., Arduino or Raspberry Pi)
- Sensors (e.g., motion, touch, or proximity sensors)
- Power supplies and batteries
- Wiring and connectors
- Enclosures and mounting hardware
- Basic tools: soldering iron, screwdrivers, scissors
Building the Interactive System
Start by assembling your microcontroller and connecting sensors and output devices like lights and speakers. Program the microcontroller to respond to sensor inputs by triggering lights and sounds. Test each component individually before integrating everything into your exhibit structure.
Programming and Testing
Use programming environments like Arduino IDE or Python to write scripts that control your exhibit's behavior. For example, a motion sensor could turn on lights and play sounds when someone approaches. Conduct thorough testing to ensure responsiveness and safety.
Assembling the Exhibit
Design a sturdy frame or enclosure to house your electronics and lighting components. Mount sensors and lights securely, ensuring they are visible and accessible. Use weatherproofing if your exhibit will be outdoors. Make sure all wiring is neat and safe.
Final Tips for Success
- Keep the user experience in mind—make interactions intuitive and fun.
- Test your exhibit multiple times before the event.
- Prepare backup components and troubleshooting guides.
- Engage visitors by explaining how the exhibit works.
Building a DIY interactive light and sound exhibit can be a fun and educational project. With careful planning and creativity, you can create a captivating experience that enhances any art festival. Happy building!